Lamp Matters — How Curing Affects Builder Gel Performance (without the jargon)
Great builder gel sets look smooth, glossy and durable. When they don’t, the culprit is often curing. This guide keeps it practical—no heavy science—so you can dial in your routine whether you’re a salon professional or just starting at home.
Quick wins
-
Thin layers cure best.
-
Follow the brand’s timings—don’t guess.
-
Keep nails flat and centred under the LEDs.
-
Cure thumbs separately so light hits evenly.
-
Allow a short cool-down before wiping/no-wipe finishing and oiling.
The 4 factors that drive a good cure
1) Lamp compatibility
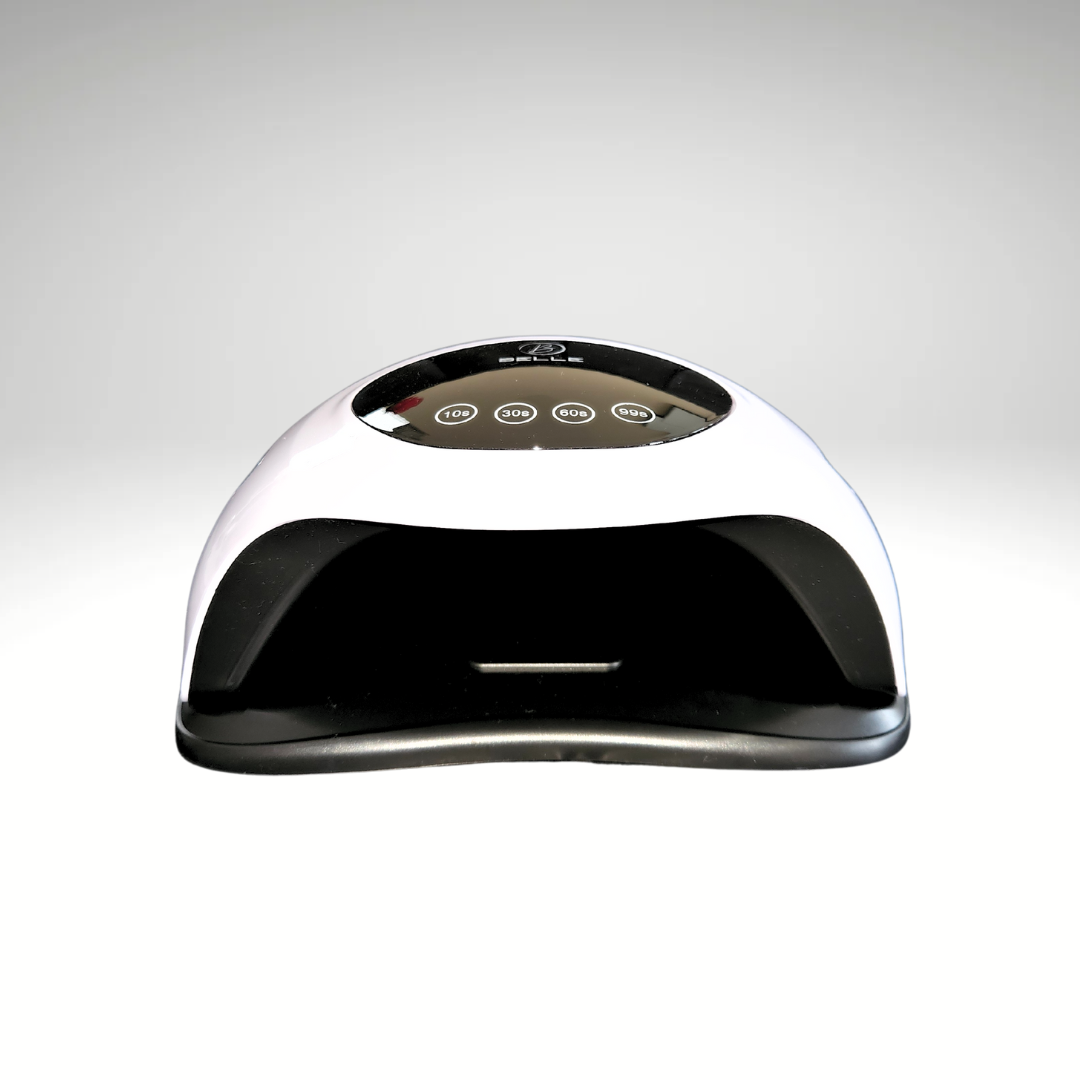
Gels are designed for certain wavelengths and intensities. Use a reputable UV/LED lamp that the brand recommends for that system. Mixing unknown lamps with pro gels can lead to soft spots, dullness or lifting.
2) Layer thickness & pigment
Light must travel through the gel. Thick or heavily pigmented layers make that harder. Keep layers thin and give them the full stated time. Build your apex in multiple passes instead of one bulky layer.
3) Distance & hand position
Too far from the LEDs or angled thumbs = uneven exposure. Keep fingertips ~1–2 cm from the LEDs (check your lamp guidance) and cure thumbs flat.
4) Timing & temperature
Respect the manufacturer’s cure time for base, builder and top. After the final cure, allow a brief cool-down before cleansing or finishing to keep shine looking its best.
Troubleshooting (symptom → likely cause → quick fix)
-
Soft/rubbery feel after cure → Under-cure (thick layer, wrong lamp, short time) → Thinner layers, confirm lamp match, give full time.
-
Dull or patchy shine → Uneven exposure; thumbs angled; wiping too soon → Cure thumbs flat, maintain distance, cool-down first.
-
Heat spike during cure → Layers too thick or product pooled at apex → Build in thin passes; optional short flash-cure, then full cure.
-
Lifting at sidewalls/cuticle line → Skin contact or bulky application near the contour → Leave a hairline margin, float—don’t flood—keep layers thin.
-
Yellow/warm cast in clear → Formula/lamp interaction or certain colourants → Use a clear-optimised builder/top within the same system and the recommended lamp.
Step-by-step curing routine (works for pros & beginners)
-
Prep properly: clean, shape and remove surface oils per brand instructions.
-
Base (thin): apply and cure for the full stated time.
-
Builder (thin): float product; build apex gradually; cure each layer fully.
-
Colour (optional): thin coats; cure each.
-
Top coat: cap free edges; cure to the beep.
-
Cool-down: wait a moment before cleansing/no-wipe finishing.
-
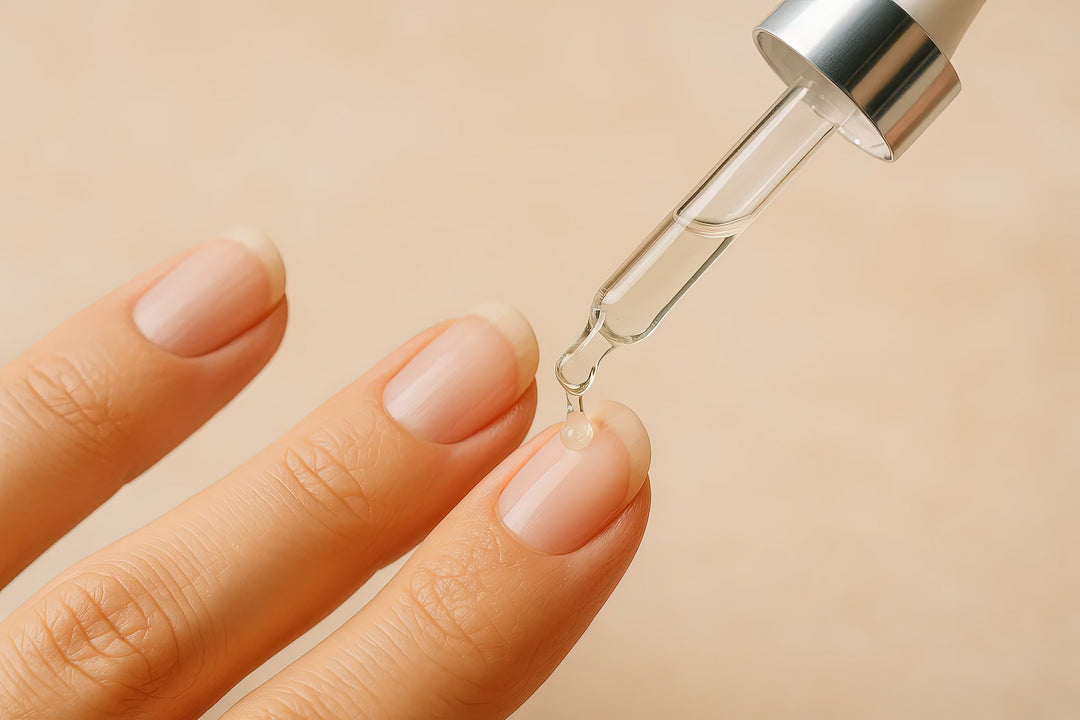
Finish: apply cuticle oil after nails cool for a fresh, glossy look.
FAQs
Can I over-cure gel?
You can over-bake the surface, which may reduce gloss or feel brittle. Stick to the brand’s timings.
Do I need a “stronger” lamp?
Not necessarily. You need a lamp that’s compatible and used correctly (distance, position, time).
Why do my thumbs chip first?
They often cure at an angle. Cure thumbs flat and separately for even exposure.
Is a no-wipe top easier for beginners?
Many find it simpler. Ensure you still cure fully and cool down before finishing.
